Materials Needed:
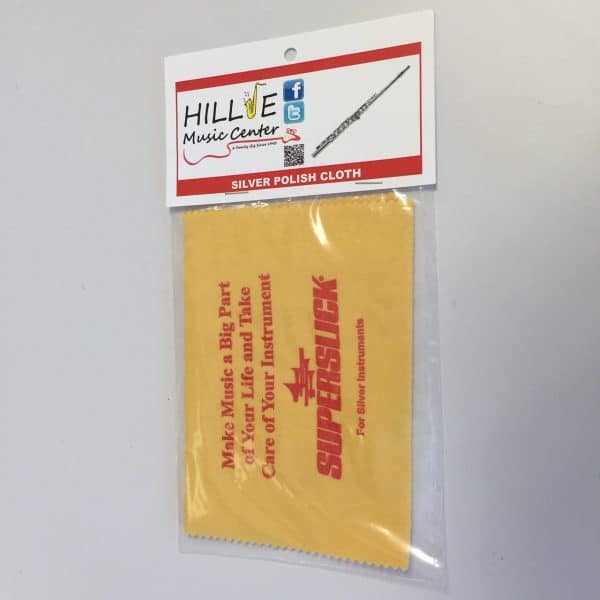
1) Cleaning cloth or towel
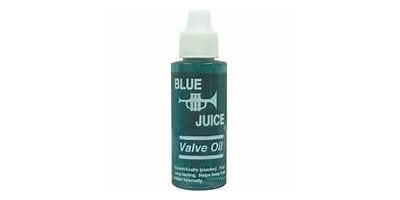
2) Valve oil
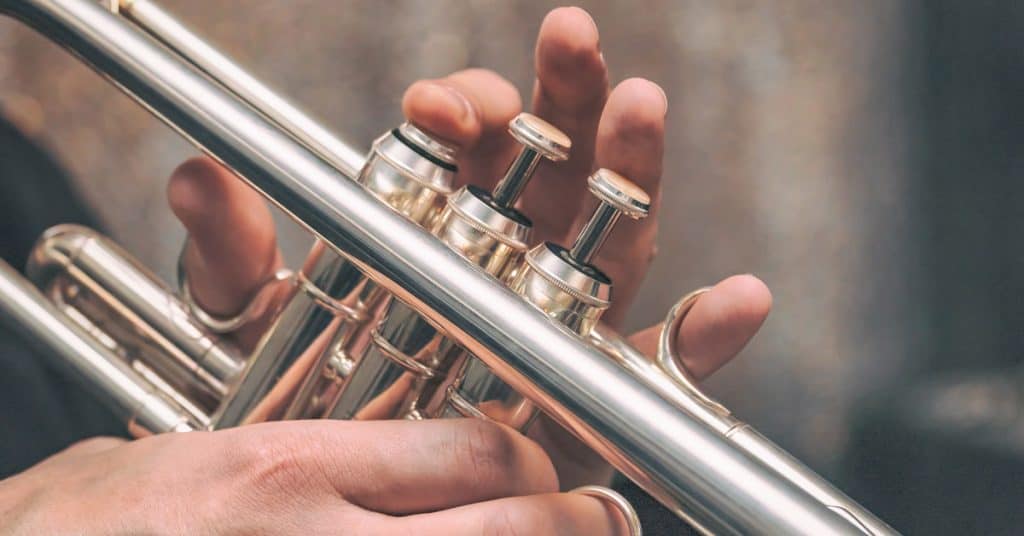
Lay out a towel on a flat surface. Place the instrument on the towel with the bell side on the bottom. The second valve slide should be facing up.
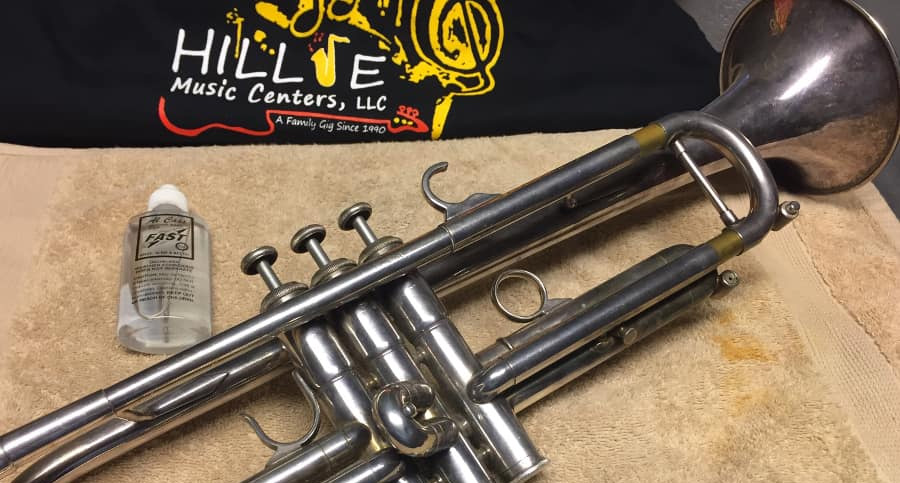
Oil one valve at a time. When oiling the valves, remember the bottom section of the valve needs oil, not the top section. The first valve is the one closest to the mouthpiece. We are oiling the second valve – the one in the middle.
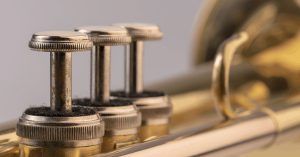
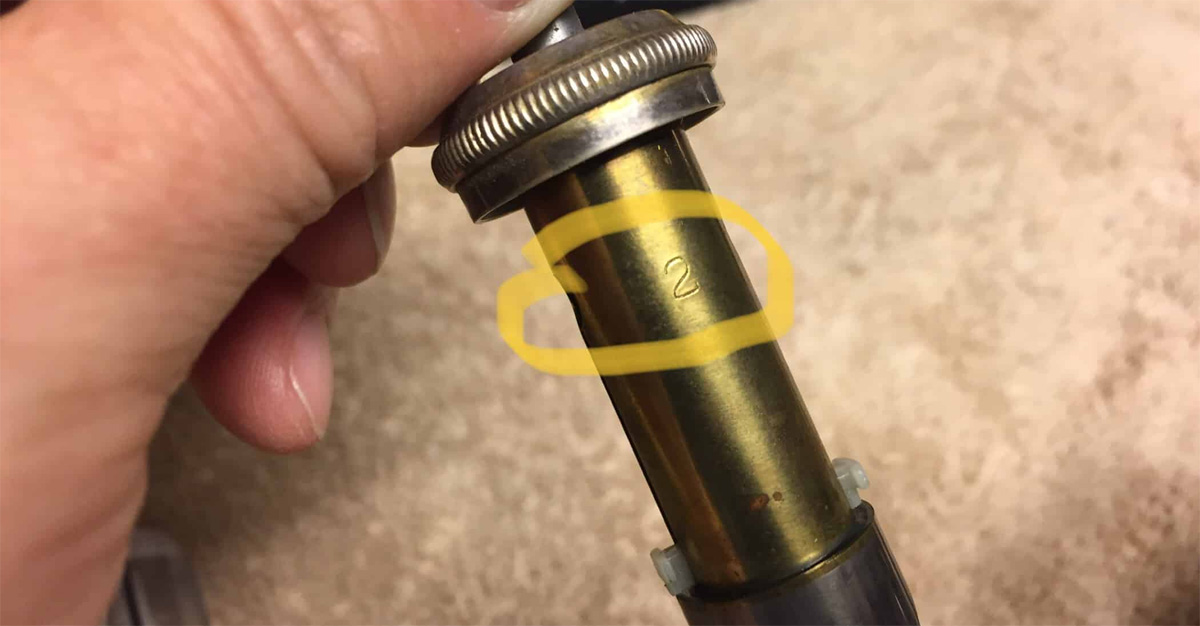
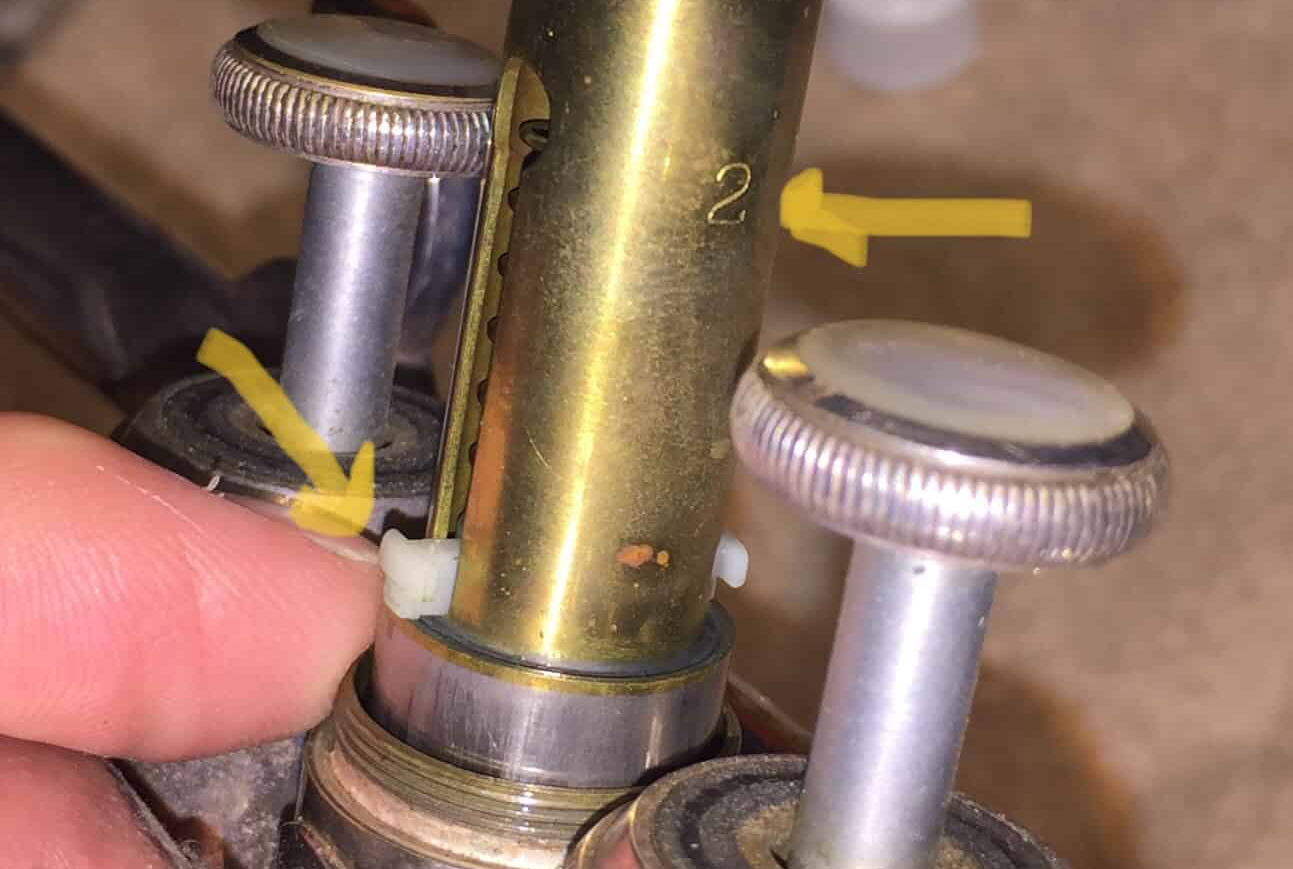
Unscrew the top valve cap and pull the valve all the way out. Notice the top of the valve is thinner than the bottom of the valve, and the top has a spring inside it. The spring sits on a small valve guide which has to be aligned in the casing. Notice the number “2” is stamped on the side of the valve near the spring assembly. There is a “1” and a “3” stamped on the other valves too.
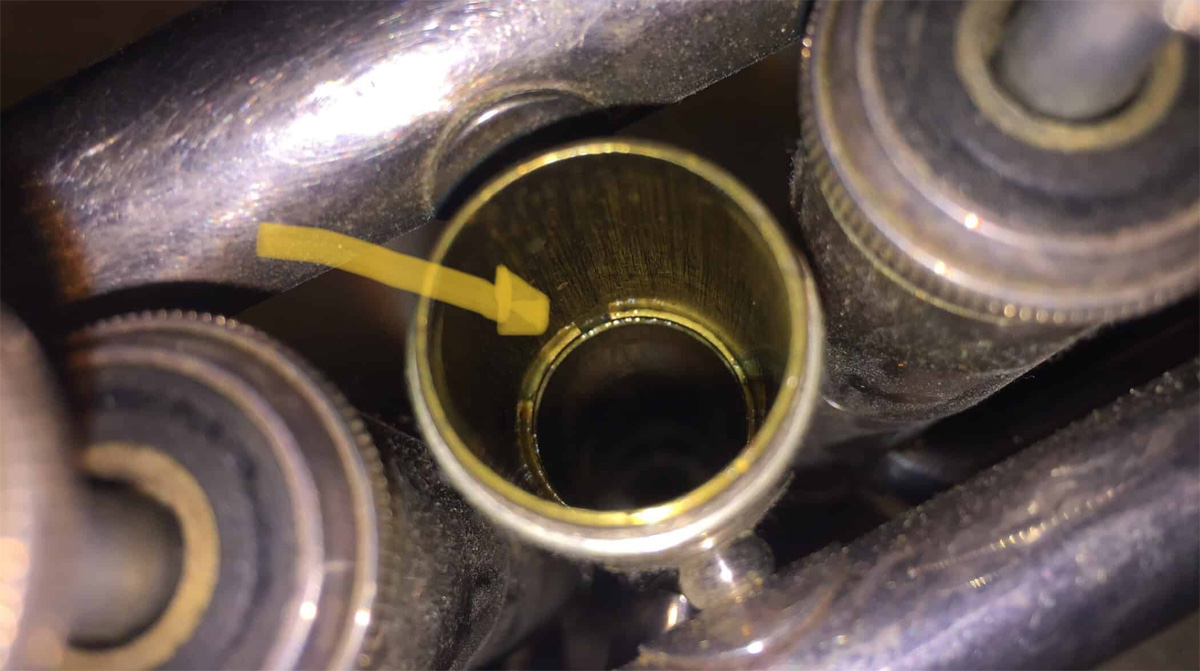
Look inside the valve casing and notice the top of the casing is wider than the bottom of the casing. There is also a small slot in the wall of the valve casing. The valve guide in the top section of the valve needs to fit in this slot when you put it back together.
Apply oil along the bottom section of the valve. It does not take much oil, maybe 4-8 drops on each valve. It is okay if the oil drips off the bottom, that is why we put the towel down when we started.
Re-insert the valve with number facing the mouthpiece. This will align the valve guide in the slot. Screw the valve cap into place but not too tight. the valve should operate smoothly.
Repeat the process for valves 1 and 3.


